This was a made up game, Mike and I brought Prussians & Austrians to fight Graham's French (and Ian joined him with Bavarians from Graham's and my collections)
I had the Austrians on our right, Mike the Prussians on our left. Here we see the Austrian heavy cavalry ahead of the marching infantry columns

Opposite, a French light cavalry brigade including lancers

Here's an overview with my Austrians in the left foreground & Mike arranging his Prussians in the background. Opposite Mike are Graham's French. Bavarian infantry are on and around the bridge road.

The Bavarian brigade

Austrian Grenadiers with a cloud of skirmishers out front get the order to advance to the bridge

The Austrian light cavalry are the other side of the river, next to the Prussians

Menacingly, opposite them is a "Grand Battery"

Graham has a strong Cuirassier brigade on his right flank

This is Mike's impressive Prussian infantry brigade with light cavalry beyond

The Franco-Bavarian army wins the initiative and the French infantry advance - unlike the Bavarians who fail their first command !

The Cuirassiers have been ordered forward up on to the high ground beyond the farm

Our first move - my skirmishers move up onto high ground as the Heavies trot forward too

The Austrian Grenadiers have reached the bridge

A column of march is backed up down the road - quite a log jam.

The French Cuirassiers have stopped their advance as they survey the Prussians below them

Mike's Prussian artillery has really damaged the first French battalion causing big casualties and disorder

To the extent that they had to take a Break Test - and break they did, taking two supporting battalions with them. An early disaster for the French leaving a gaping hole in the middle of their ranks

Ian's French light cavalry brigade charge the lead Austrian heavy cavalry unit

but even allowing for the advantage of the lance in the first round, the Heavies won
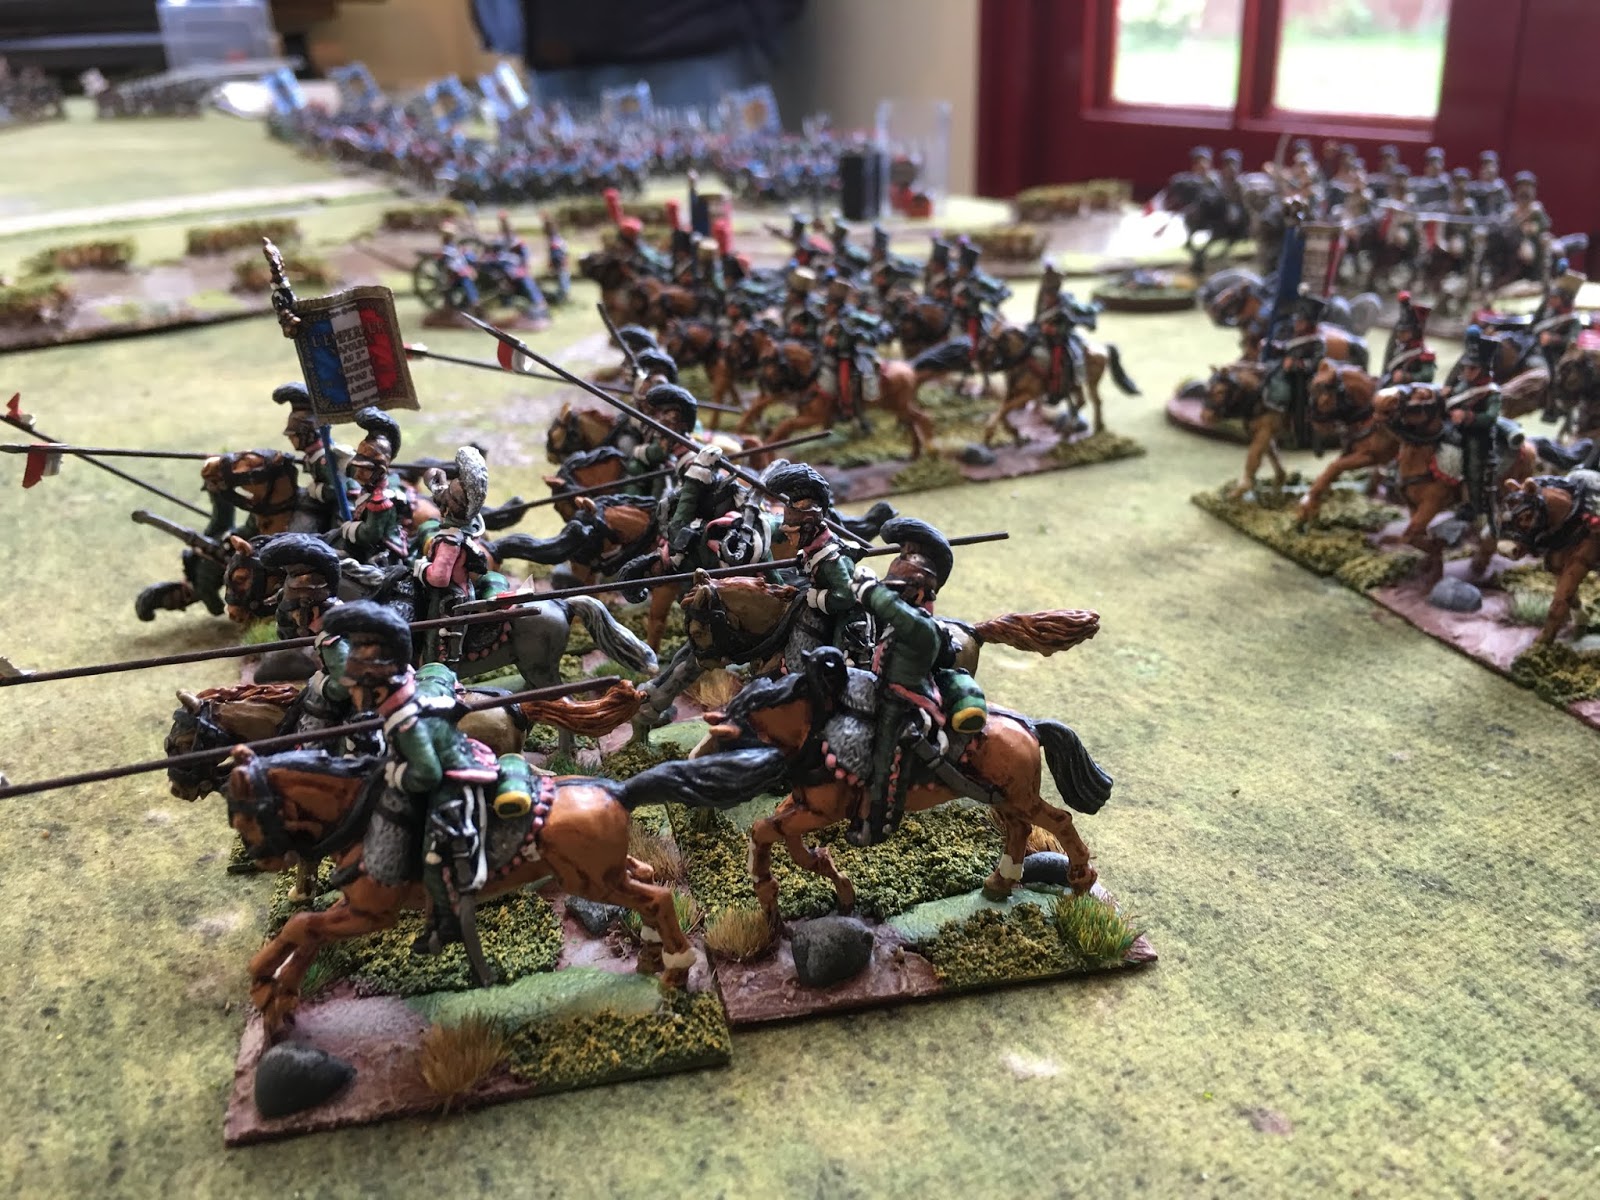
but wisely decided to retire behind the ranks of the rest of the brigade to take down the casualties out of harms way

Mike's advancing Prussian infantry asked for some support so my Austrian hussars charged the French infantry forcing them into square making them an easier target for the Prussians

The hussars retired having done their job as Mike's Prussians bear down on the French

My Austrian Grenadiers are unable to cross the bridge and change formation - they are stuck in march column which will be bad news if the Bavarian infantry charge - this time, the Bavarians choose to fire but the Austrian skirmishers bear the brunt of this

View from the French side as the Prussians cross the farmyard

Graham's Cuirassiers are faced with a "corridor of fire" if they decide to charge

Infantry and guns will hit them before they can reach the Prussian cavalry

Back on the French left flank, the light cavalry have pulled back with casualties

This is becoming a troublesome sideshow !

Ian needs to reduce casualties before attempting another charge

The Austrians are stuck in march column crossing the bridge - not good if they get attacked !

which is exactly what the Bavarians do - the Austrian skirmishers stand firm to try and screen the march columns

Meanwhile, Mike's Prussian lines steadily march through and by the farm yard

The brave Austrian skirmishers take the brunt of the Bavarian assault

but are beaten back for their trouble. The attack will now focus on the Grenadiers

but the Austrian brigade commander has been able to rush more troops over the bridge and they have fanned out into attack columns and joined the fight

So four Austrian units are now over the bridge, two still stuck in march column

The French are determined to hang on to the farm as the Prussians enter the yard

Ian has sent in the French light cavalry again but they have become disordered

Prussian pressure on the farm builds

The French light cavalry have been thrown back and the Austrian cuirassiers elect to retire behind the gun line so they can reduce casualties

Austrian hussars move up to support the Grenadiers
Three Austrian Grenadier battalions are now heavily engaged with the Bavarians

The endless tide of Prussian infantry !

Here's the situation at the bridge now. The Skirmishers have taken up firing positions there to shoot at the enemy light cavalry whilst the artillery are engaged in counter battery fire

The French infantry brigade has broken but one battalion is unable to extricate itself from melee

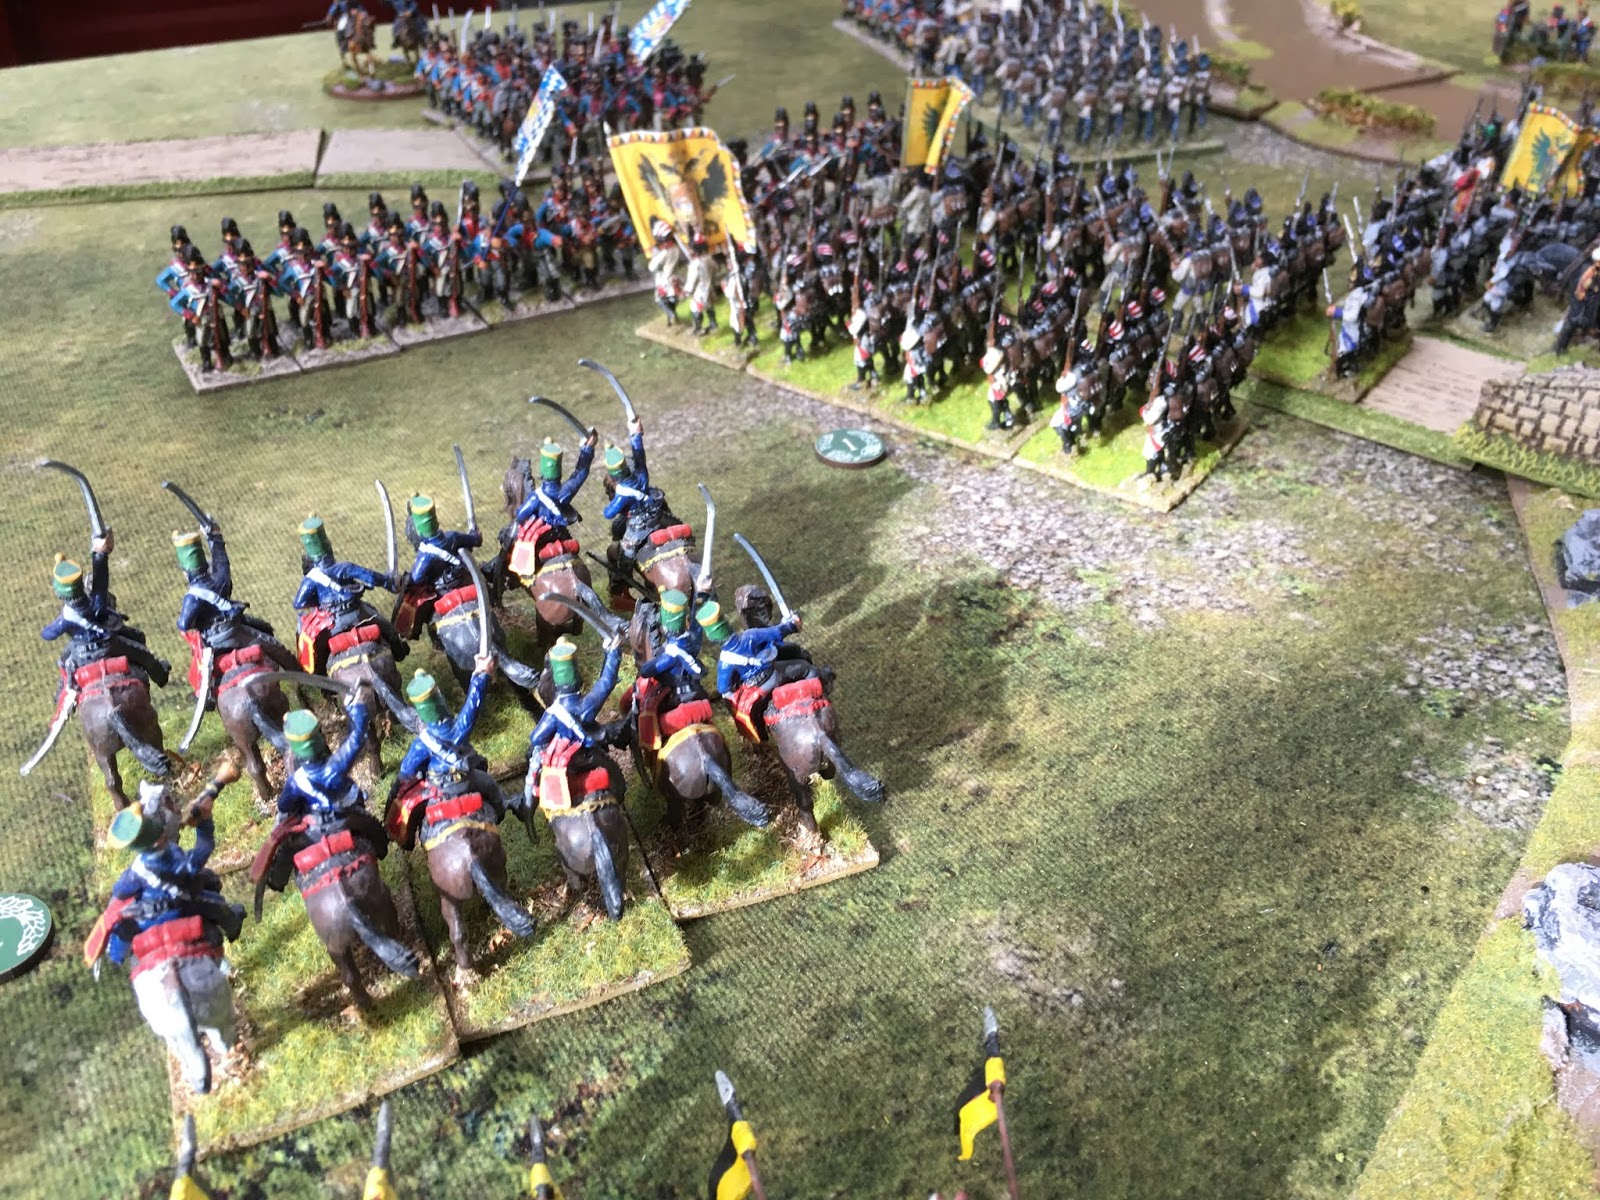
More and more Austrian light cavalry move up

Astonishingly, two Austrian units have been beaten and gone - but more are about to cross the bridge

The French light cavalry have twice been bested by the Austrian heavy cavalry brigade and they have retreated to lick their wounds

The lead Austrian battalion has to fight grimly on until reinforcements can arrive

but the Austrian light cavalry brigade lends support and threatens the Bavarian flank

Ian has had to send two Bavarian battalions across to try and stem the Prussian advance - this has dangerously thinned his lines

The French Grand Battery has not lived up to its promise - bad dice throwing throughout the day !

The French light cavalry can now see a hole in the enemy lines

If and when this French battalion breaks, the flood of Prussians will break through

and they are firmly in control of the farm

At this point, the French & Bavarian commanders withdraw to discuss the situation. The Bavarians cannot be expected to fight two enemy infantry brigades backed up by cavalry and guns. The intact Cuirassier brigade has been unable to do anything, faced by Prussian cavalry, infantry and guns and the French light cavalry are spent.
It is decided that the remaining Franco-Bavarian forces will withdraw screened by the Cuirassiers - game over !
No comments:
Post a Comment
Note: only a member of this blog may post a comment.