Well, having missed the pre-Christmas games down at the club thanks to picking up a virus, I was determined to make it to Rafael's place today for a game of Regimental Fire & Fury.
Raf had picked the Henry House scenario and set it all up ready for when Terry, Steve Clarke and I arrived. Steve took the Federals (with advice from Rafael) and Terry and I had the Confederates.
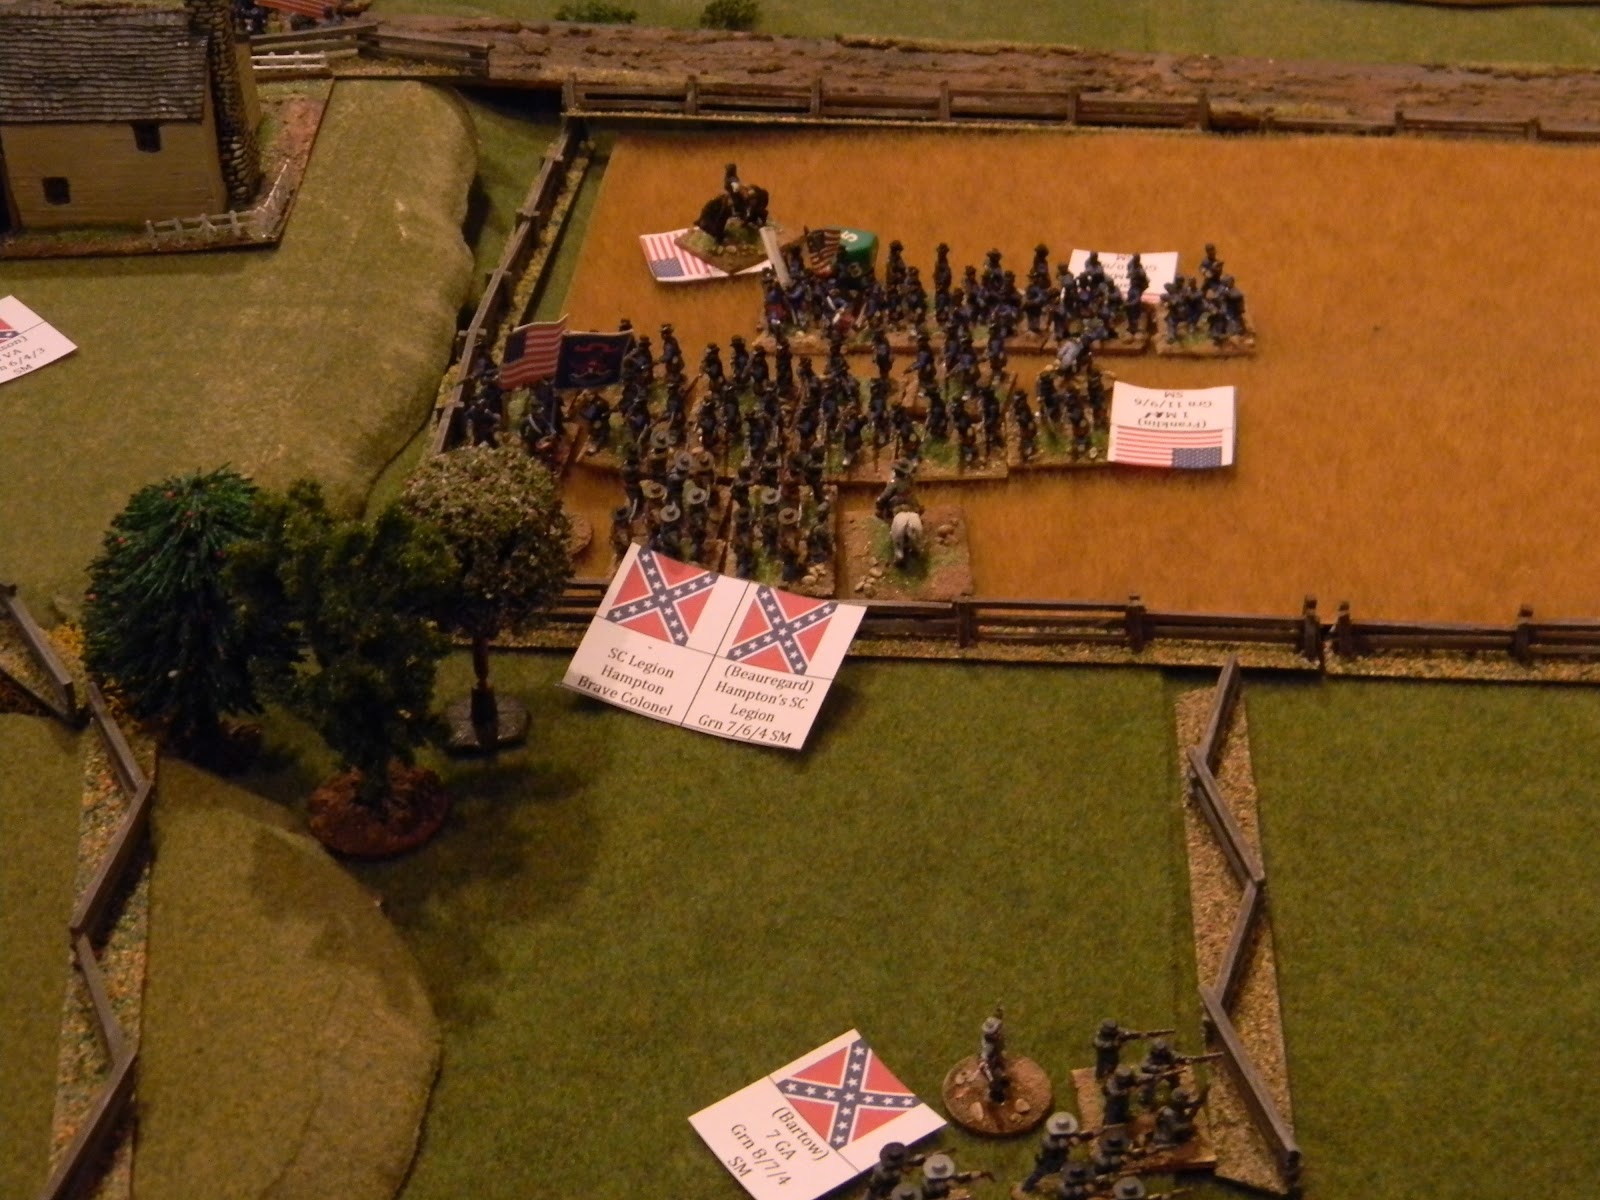
Here's the view from beyond the Rebel left showing the mass of disordered Confederate infantry with guns in front

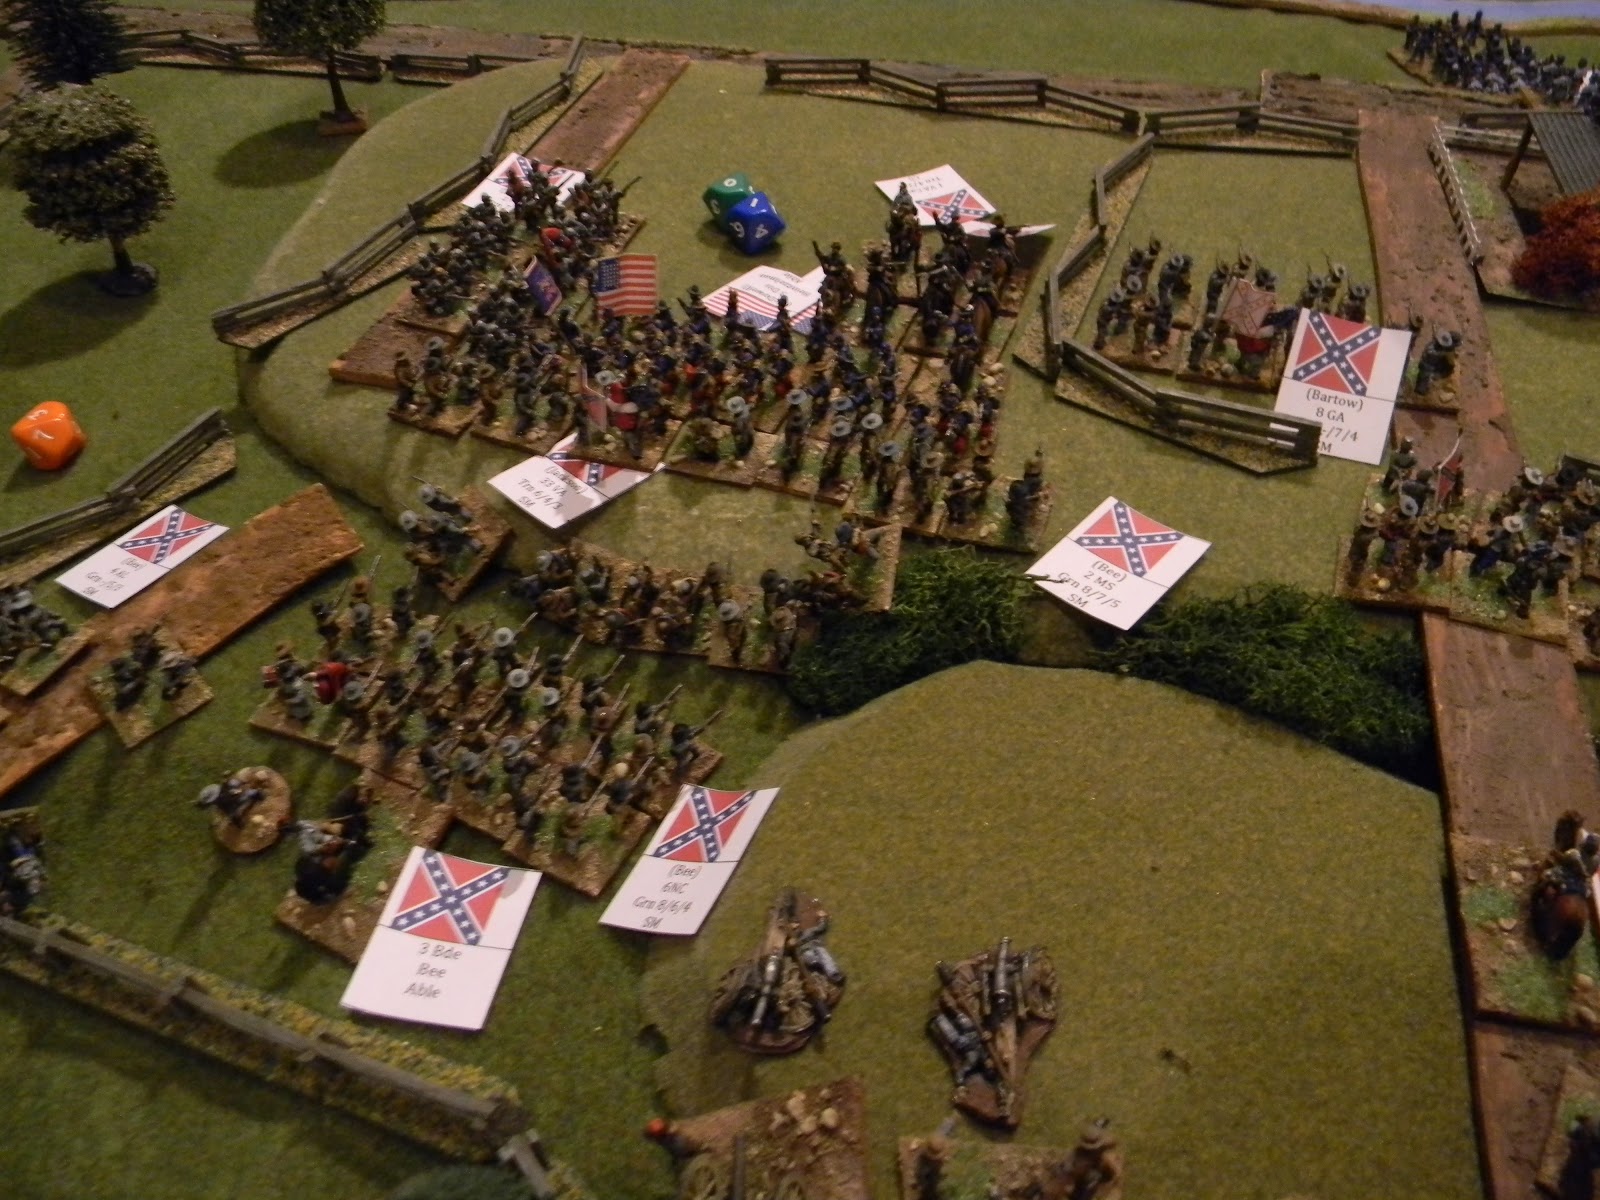
Union troops occupy the high ground

with more infantry behind them

Jackson had relinquished this ground in earlier fighting

Union guns and infantry over on the Federal right (where reinforcements will arrive)

Here's the scenario book - available from Caliver Books here in the UK

and the briefing notes

Battle map showing initial positions

Terry starts to sort out the units during our Maneuvre phase


Those infantry still in good shape are pushed forwards both left and right of the centre road crossing Henry House hill

The first charge goes in

with support on the right

These Union troops are pushed back

Three Rebel regiments advance on the Union red trousered Zoaves blocking the hill

Union troops are arriving across the river bridge and nearer to hand too threatening the Rebel right flank

The Rebels now have the fence line right of Henry House hill

Rafael makes some suggestions to Steve Clarke

Ah ha ! Thats the way to do it !

Union infantry has now arrived to support the troops on the hill

The first Rebel charge on the left is repulsed by the Zoaves

The Rebs advance into the cornfield and attack the Union battery just in front of Henry House


Rebel cavalry have sneaked up the main Union battery - and manage to not beat them !

They retreat and mill around near the enemy limbers

Fortunately for the Rebels, Beuregard's infantry manage to take out the smaller Union battery in front of Henry House

Here we can see Rebel reinforcements extending to the right as well as pushing up the central road

The Rebs on the left charge the Zoaves again as do the Rebel cavalry against the guns

- and guess what - they lost again !

despite the Confederates beefing up their right flank

the Union infantry have a secure hold on the right hill

and more troops arrive marching towards the bridge

The Rebel guns had pretty much lost the duel with the Union artillery

so infantry were pushed forwards to do the job instead

The Union guns are charged

as the Zoaves hold their own against the odds next to them

More Union infantry cross the river to support their troops on the hill there

Unbelievably, the Union Zoaves now charge the mass of Rebels in front of them

as other Union infantry have crossed the rail fencing and destroyed the Rebel infantry in the cornfield - the Rebel commander retires on his own !

So, the Union has shored up this position for now

This time, Confederate infantry attack the Zoaves on two sides as the so far less than successful Rebel cavalry attack them in the rear
Surely, they can't prevail against these odds ?

Beuregarde's troops flushed with their victory on the hill, now swat away not one but two Union regiments in the cornfield

This plus the Rebels finally overcoming the Zoaves and capturing the right hand hill too, victory is declared for the Secessionists.
But, we all agreed the real heroes of the day were the Union Zoaves - tempted to get a pair of red trousers myself now !
Great report and wonderful looking game!
ReplyDeleteWell done to get the report out so quickly. Good game and credit to Raf for keeping us all in order.
ReplyDelete