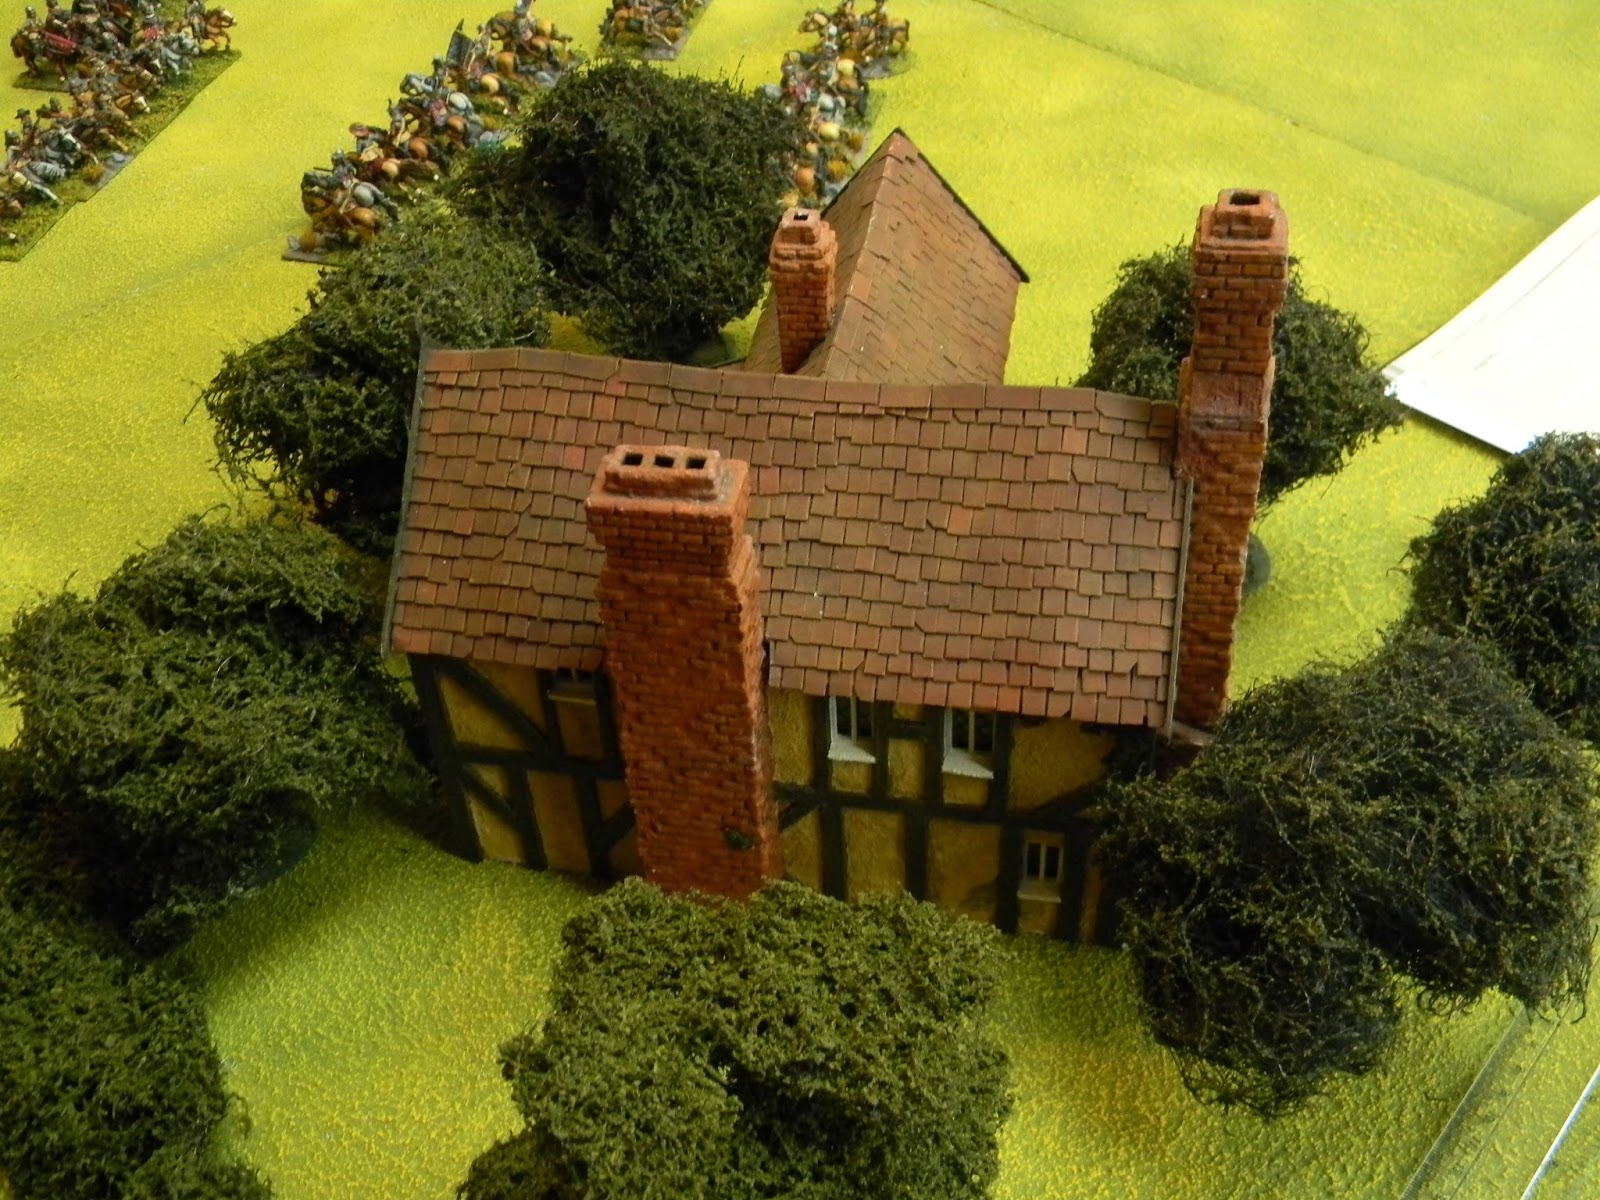
OK, first of all a confession - I am being lazy here and completely copying Rich Clarke's Peninsular campaign, including the map. All that is different is the force compositions - we have just gone for typical forces as listed at the back of the rule book.
This is our version of Camino Cerrado, a "choke point" where a clash was pretty much inevitable. In our version, we diced to see what the water crossing was like - and its turned out more of a stream.
The French are seen in the distance and no sign of Fondler's men (yet).

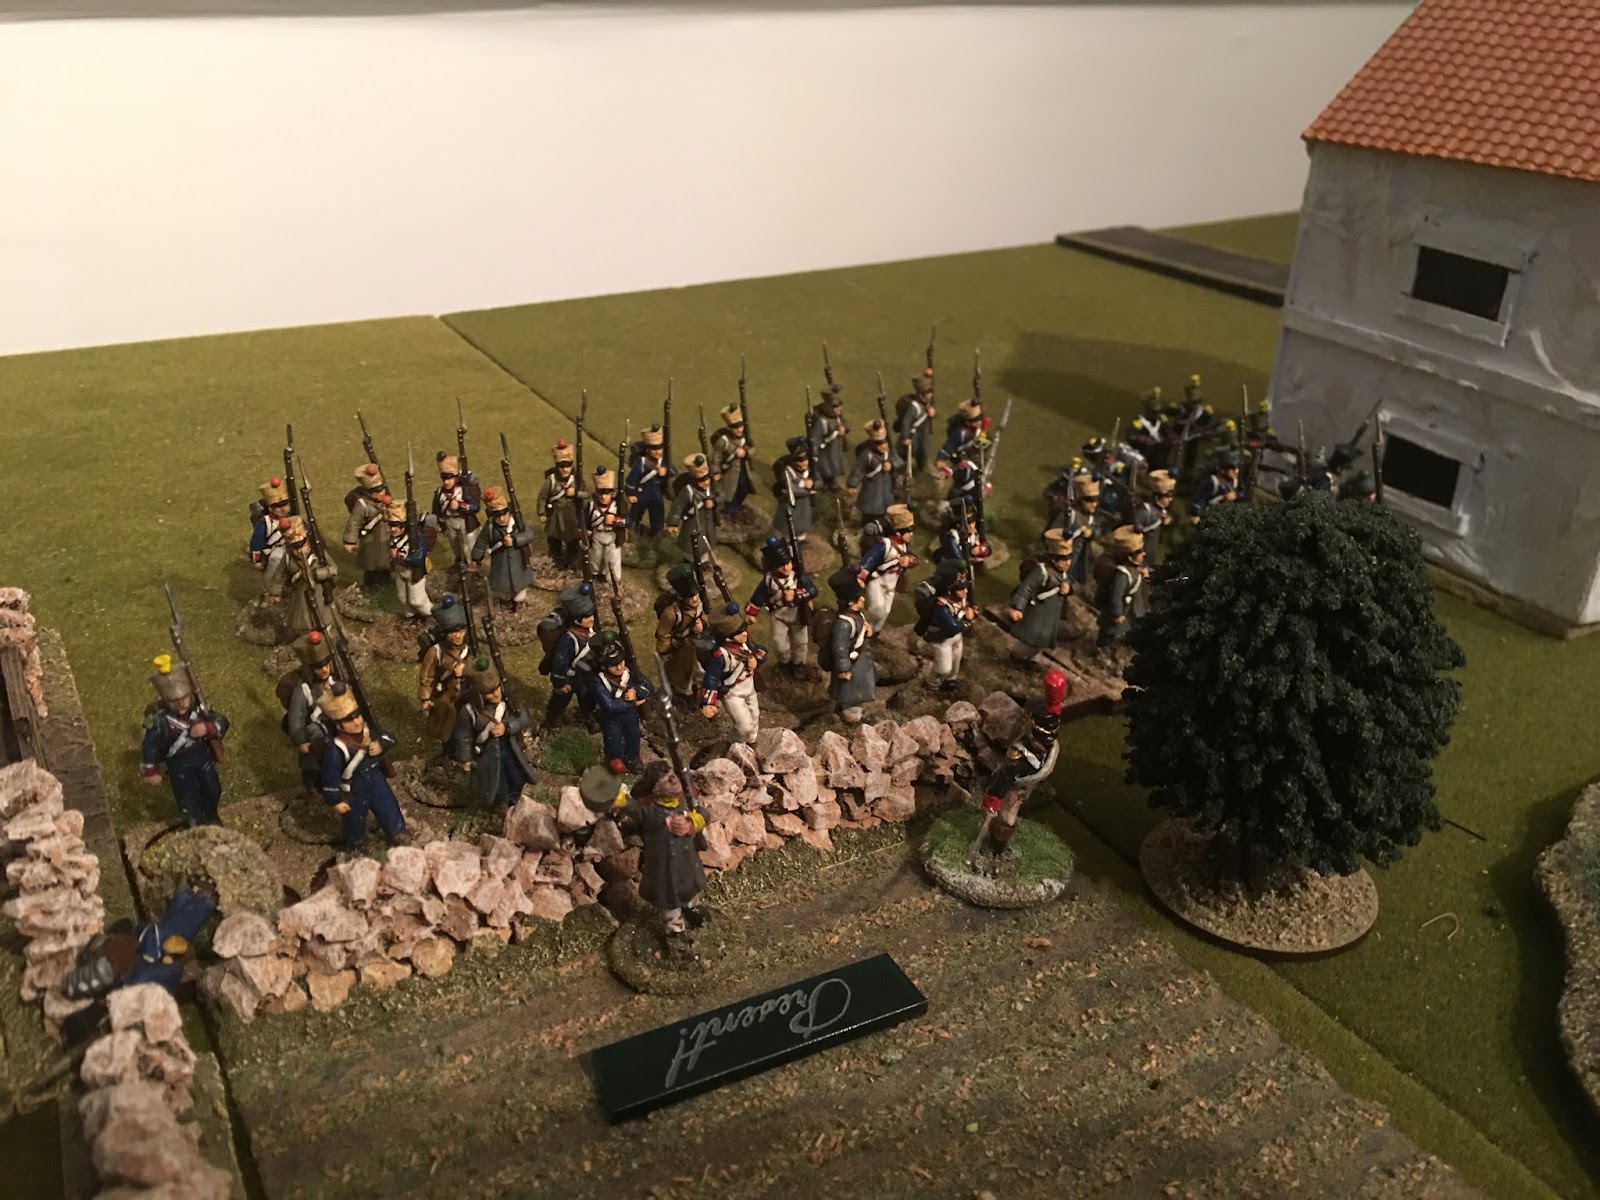
Steve Clarke has chosen 5 groups of French line infantry supported by a group of Voltigeurs.

Aha ! Some British - this is Lt.D'Arcy, realising he is the wrong side of town and moving his Scots.

The French commander has formed up a three group formation and moved them ahead to the edge of town, to the right, backed up by the Voltigeurs.


They quickly get to the first walled yard.

Fondler decides this is far enough and reveals a unit of Scots hidden behind a wall - fire !

The result of that is the French formation replies with devastating results - half the Scots are killed and Fondler is hit too, albeit not seriously.

The Rifles have heard the firing and arrive in the nick of time.

and they are ordered straight up the road towards the bridge.

The French have now brought up their second formation of two groups, as the first starts controlled volleys.
Fondler decides he's had enough and puts some space between him and the enemy.

Just as D'Arcy turns the corner

The Voltigeurs edge forwards

which encourages some British troops in the buildings to open fire at them.

Fondler's remaining Scots have finally got the message and run to catch him up !

Fondler orders D'Arcy to take up position behind the yards whilst he takes his men to town.

Three of whom decide they have spied some ladies and make off for the houses !

Here's D'Arcy getting into position.

Harper has rushed the Rifles to the bridge so they can provide flanking fire on the French

although this leaves them somewhat exposed.

Sure enough, it starts to hurt the Voltigeurs as shock mounts on them.

and the formation too - the French commander is hit but only knocked out for a while.

D'Arcy and his men get the best angle for firing at the French if they cross the stream

The Voltigeurs back off with excess shock as the reserve formation is ordered to go and tackle the Rifles on the bridge.

At this point, a random event causes one of the houses with British troops inside to catch fire

Not good timing as the French have rushed across the stream

The Rifles give them fire from behind which causes double the amount of shock.

But the second French formation is coming for them !

and they are forced to fight for control of the bridge

to no avail, the French win and the Rifles thrown back into town.

D'Arcy pours fire on the French to his front

and some bodies do tumble.

Fondler has now managed to get most of the men out of the burning building and they add flanking fire on the French formation.

With French leaders hit too, the effects build up alarmingly.

Its a big formation but the continued fire from both front and side takes its toll

The Rifles are attacked again in town

The white French dice tell the story - another win for them !

Whats left of the Rifles are thrown back in confusion.

But this does not affect the main struggle with the large French formation

The Rifles NCO tries to get his men back into cover

The large French formation finally recoils

and breaks as morale plunges

The valiant efforts of the French troops on the bridge are not enough to save the day

A French retreat is ordered, with wounded piled into wagons and obvious gaps in the ranks.

The thin red line has held again !