St.Nicholas River.
As promised, we fought the St.Nicholas battle yesterday with Steve Clarke opting to be the Red Army defending the river crossings with yours truly the Blue Army attacker. We played using good old Charles Grant rules (recently updated by Brigadier Charles Stuart Grant).
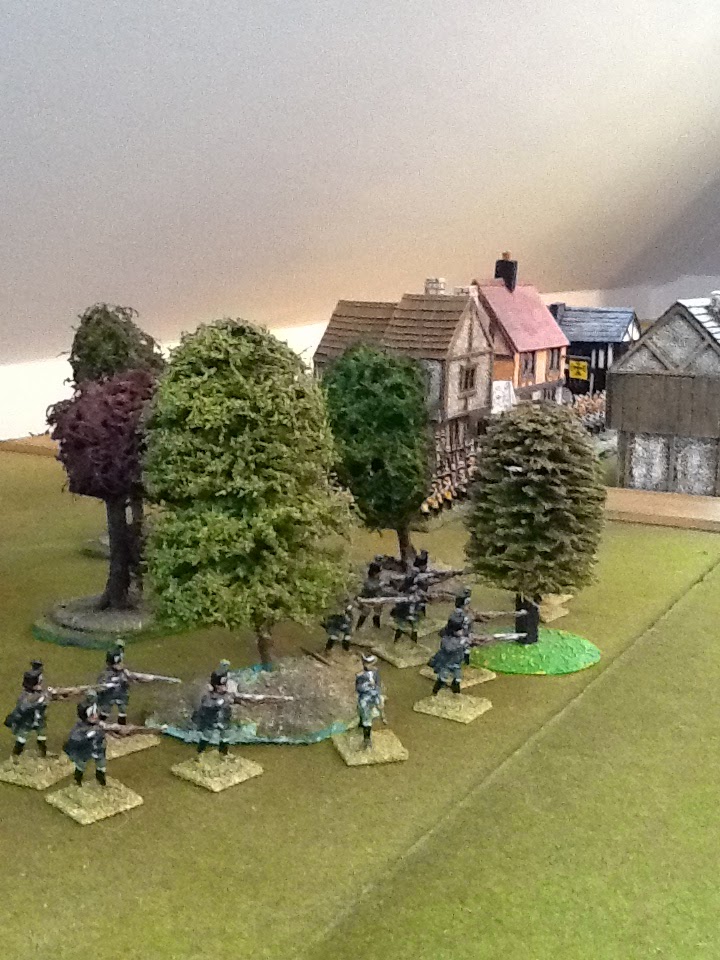
Blue Army light infantry enter the woods on Blue's right flank.
Blue Grenadiers in the town with Regiment Prinz Von Preussen on their right.

The Reds adopt a very Wellingtonesque reverse of the slope disposition to shield them from artillery fire.

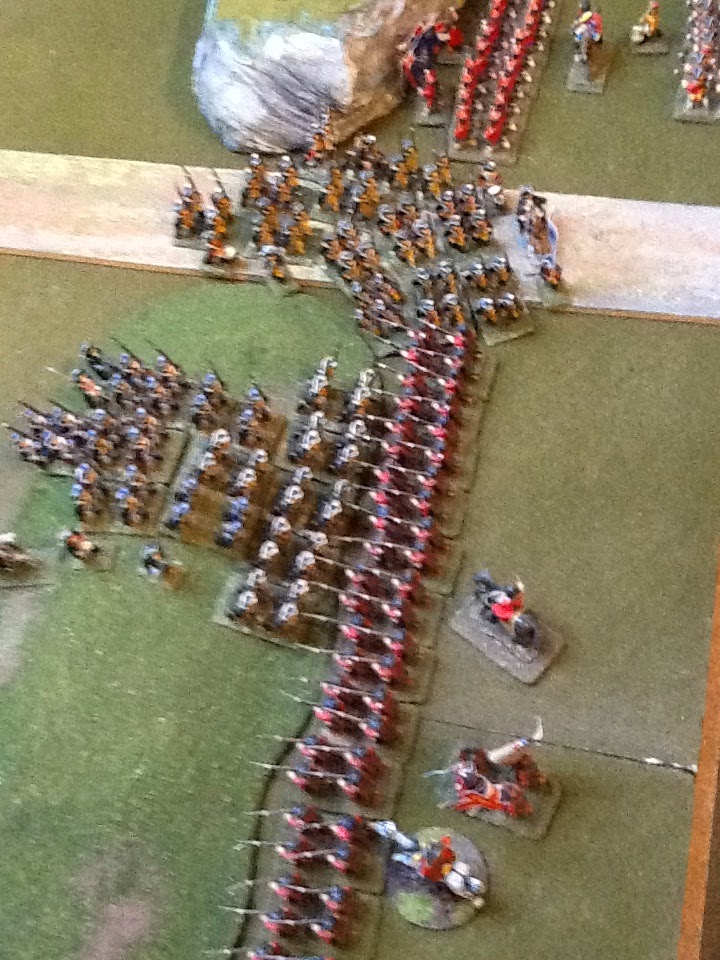
Two Blue columns approach the Scots position.

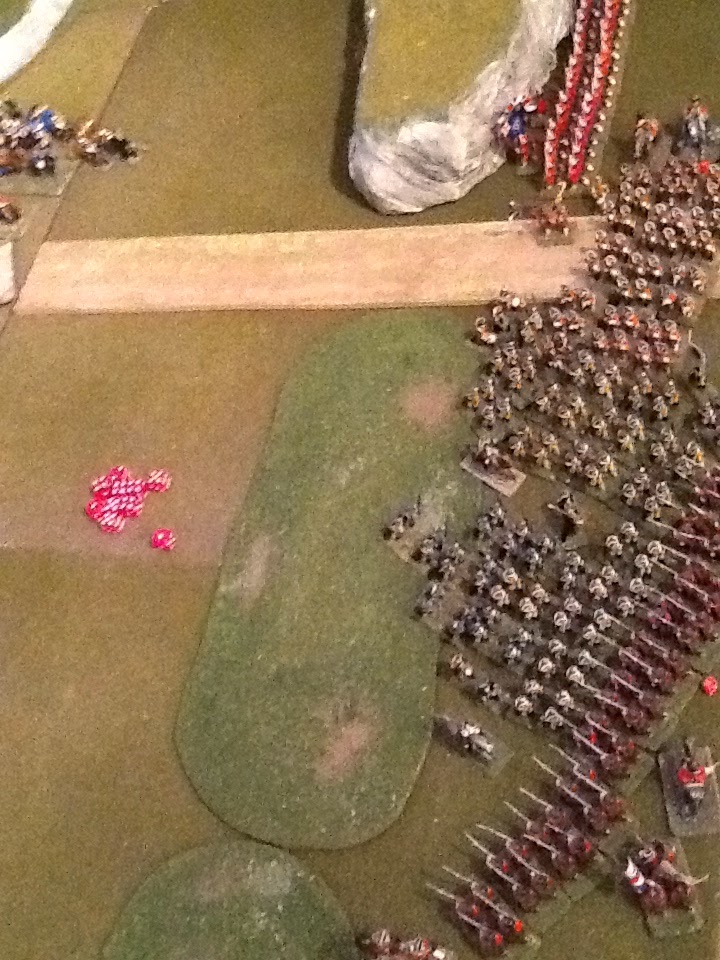
Two Red regiments are hidden behind the large hill on the Red right.

Two Blue columns form up on the Blue left supported by light cavalry and guns.

The columns march steadily forwards.

Red guns are deployed on their left.

The Scots are hit by both columns having failed to get off a volley.
Blue's light troops on their left are beaten back.

Red sends another unit in to help the centre melees.

Blue wins both and the Reds are thrown back.
On the Red left, the guns have killed a number of Blue's attack column.

Blue moves forward a battery into the centre.

The Scots are being pushed back to the bridge whilst second unit is being held off behind the big hill.

Over on the left, the Blue regiment successfully attacked the Red battery and then reformed in line back a few paces.

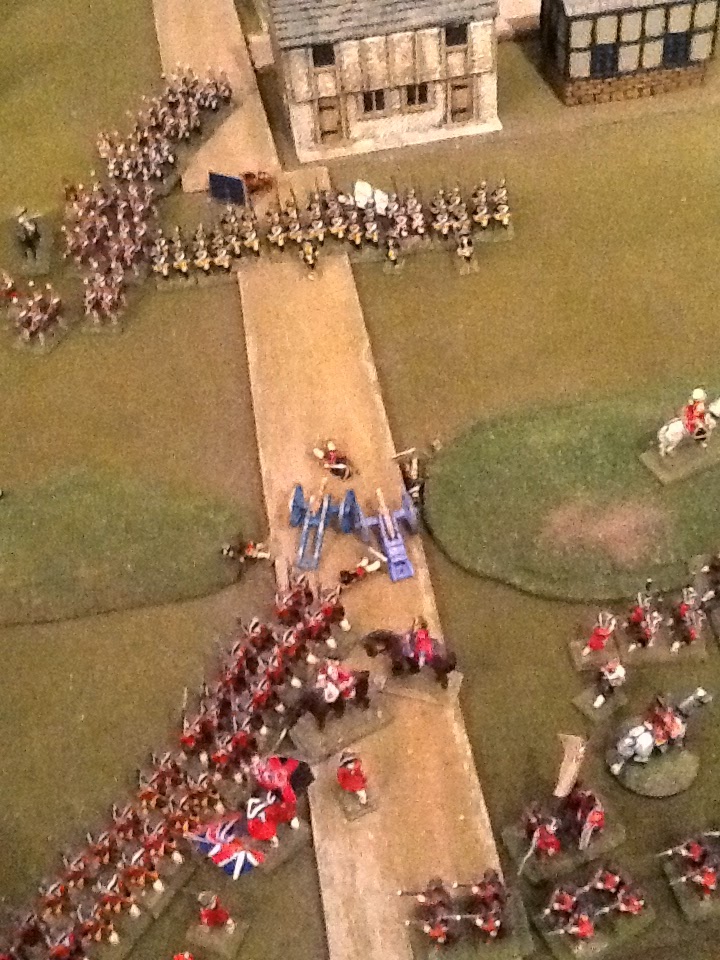
Red has abandoned the guns on their left and fled over the bridge.

Over on the right, one of Red's guns explodes after continual counter battery fire from the hill opposite.

A blue regiment pushes forward on the Red right.

Blue is firmly in control of the centre ridge line.

More Blue infantry move up to support the centre attack.

Blue's light troops are busy harassing Red's far left unit as the Blue line awaits support.

Red is pushed back behind the big hill as Blue pursues.

Red's grenadiers hope to evade and make for the ford.

Meanwhile, Red has better luck on their right as they see the Pandours break and the Blue column suffer under cannon fire.

Another column arrives to bolster Blue's attack on the Red left.
Blue keeps pushing the Reds back to the left hand bridge.

Red's grenadiers escape just in time as two Blue regiments take the road.

Blue forms up two columns for another attack on Red's left.

Red are hemmed in against the river line.

Red's 2nd gun is destroyed and their light troops withdraw from the woods.

Panic spreads on the right.

A Red regiment falls below 50% and is broken.

Red withdraws as much as possible over the bridge amongst the confusion.

Red concedes as Blue forces the crossing with Red in disarray.
An fun & interesting game using the colourful Lace Wars armies.
Apologies for the quality of the pics this time - I tried the camera on my iPad for the first time with disappointing results.
No comments:
Post a Comment
Note: only a member of this blog may post a comment.